Simple and easy to learn are the wicker weaving techniques for making baskets with a variety of functions. Few people really know them, however.
Let us then unveil the secrets of this very ancient but still popular art.
- Once you have procured an even number of twigs, such as eight, start at the bottom of the basket. Four of these twigs are split down the middle with the awl.
- An opening is then created into which the other four twigs are passed, forming a cross that forms the radial structure of the base.
- At this point theweaving of small-diametertwigs around the center of the cross begins.
- We continue with the formation of the structure, with larger diameter twigs (uprights), on which the basket riser will be based. The uprights should be placed equidistant from each other, precisely because they will form the very structure of the riser.
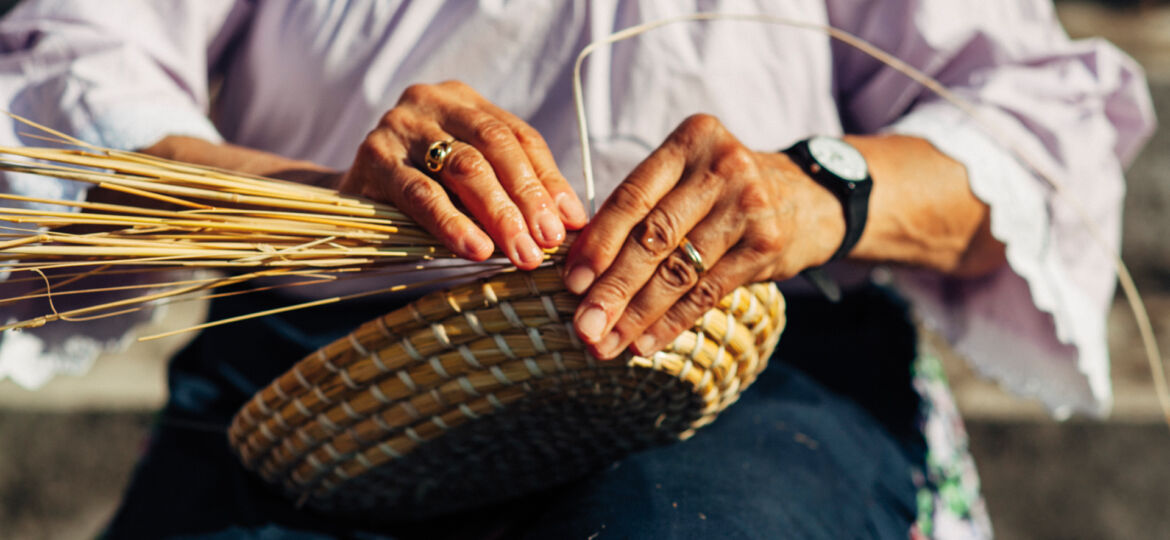
- Therefore, we proceed with the weaving. Classical weaving involves the use of three twigs: each twig that shapes the basket weave must be woven around the uprights, going first over two and then under one.
- When the twigs used for weaving are exhausted, being used to their full length, they should be replaced with new ones, leaving the end of the old twigs under the base of the basket, so that the joints are not visible and the aesthetics of the artifact are not ruined.
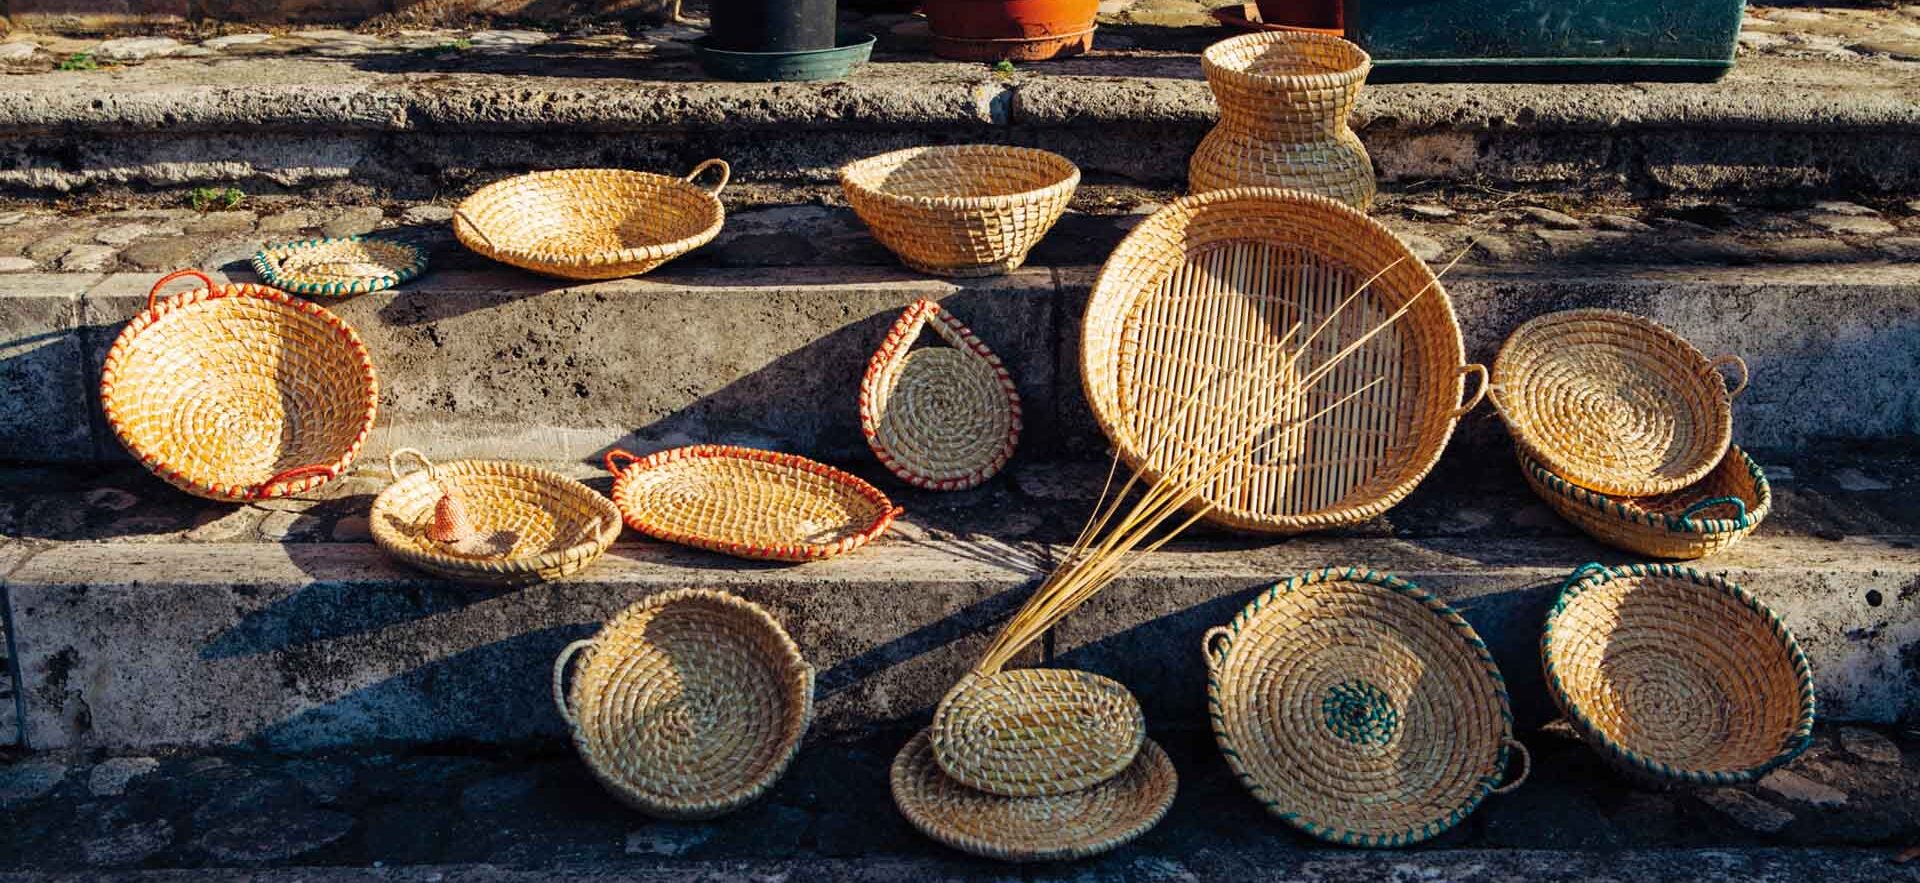
Et voila the basket is ready!
Put yourself to the test! You, too, try your hand at creating wicker baskets and rediscover this practice, which is still current and very common in our rural culture.